My mini panic attack this morning was calmed when Petar found the pictures I thought had erased. Phew! I love when I’m one step ahead of myself. Moving on, I thought we should finally talk about this DIY I keep bringing up. We finally finished it in our condo and love how it turned out so much, that we are going to do it in the main entry way and perhaps some of the bedrooms. SO…. what is this project you ask?
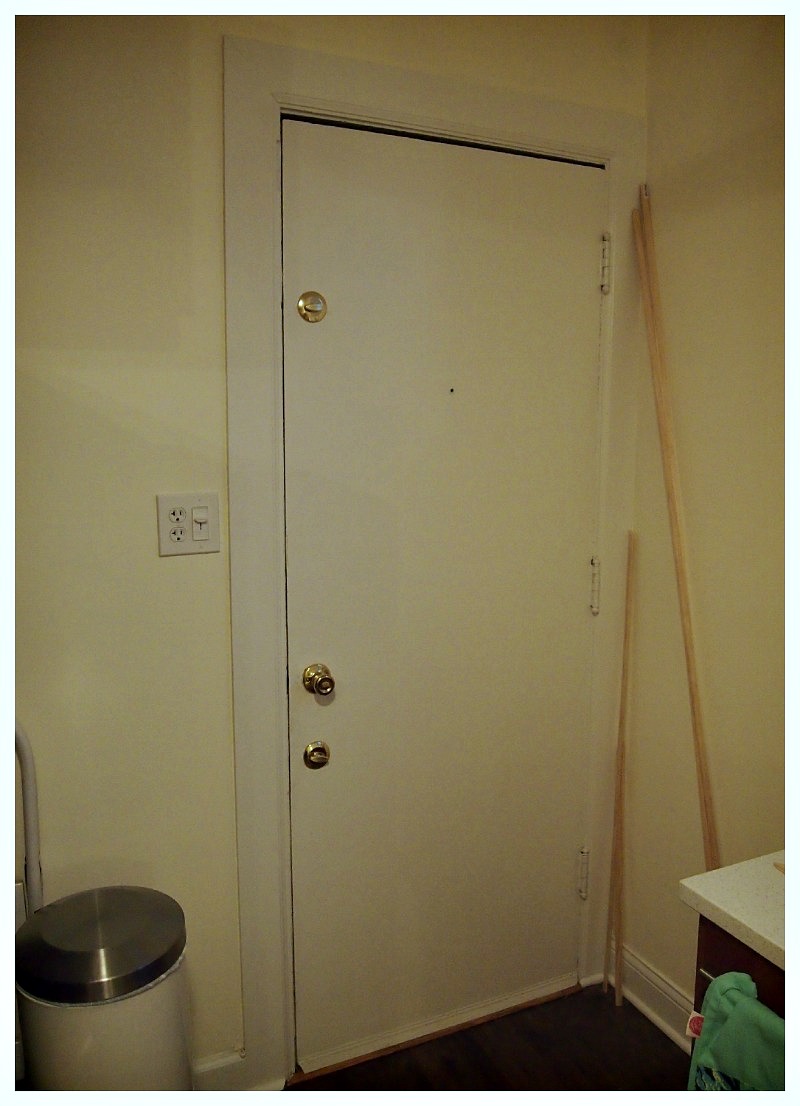
Door Trim! We went from this….
To this… of course, we painted the door a high gloss black for an added dose of glamour, but you can really paint it in whatever color you choose. Jenny from Little Green Notebook did the same for her girl’s room and painted the door a bright yellow while keeping her office doors in a sleek black.

It’s a fairly easy project even though it does require some planning and measuring…
I was initially going to purchase a pre-made kit from this Etsy shop for convenience but frankly I thought it could be a fun project for both the hubs and I. However, the trim layout from the shop did serve as inspiration for our layout. Saving a few pennies to splurge on some other items isn’t so bad either! Like this rug, I’ve been eyeing.
Take basic measurements of the door. Length and width. We went to home depot and purchased the trim in pine. They have a miter and saw at home depot that you can cut the trim to fit your needs, but they won’t do it for you. I was especially bummed about this. You want to cut at 45 degree angles and on each piece of trim you want to alternate the way the angles face.
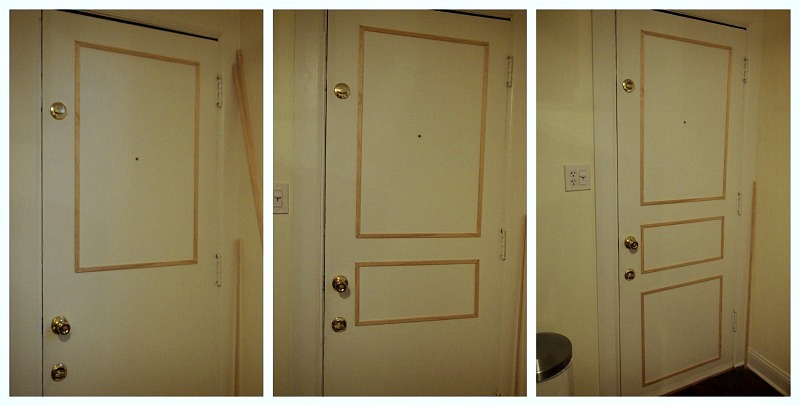
They need to alternate so that they can fit each other like a picture frame. After all your pieces are cut, I would recommend drawing out an outline on your door for good measure. You’re going to paint anyway. Nail in small nails about 1/2″ to an 1″ away from the edge so that the wood doesn’t split. We learned this the hard way.
Once everything is nailed on, fill any spaces with sealer. I would let this dry for a couple of hours or all night if you can. Once dry, sand a bit just to make sure everything is even and start painting! This is the easy part.
We started with the kitchen door since this was our first attempt. I used Rustoleum high gloss black paint and love how it turned out. Since we didn’t prime, it did take a few coats but since the paint dries so quickly, we were able to finish our four coats within an hour.
And you have a glam door for under $40.00 and a bit of elbow grease! Can’t beat that!
How many of you think this sounds easy enough for a weekend DIY? Any of you had success already? Would love to see your finished doors, especially if they are in a fun color. Email me at nomadluxuries@gmail.com and I’ll do a door roundup!
Xx
Y
