All Hallow’s Eve is upon us: witches, goblins and ghouls are coming out to play. It seems like everyone is hosting their festivities this weekend and I can’t wait for our very own spooky party tomorrow. It’s getting close to crunch time, where every little detail counts.
Since having all of our friends together (on the same night) is a rare occasion, a photo booth was in order. With that being said, I have never created my own photo booth but I’ve seen enough inspiration to get the point. Today, I wanted to send ‘Friday Fright’ off with a big “BOO” and give you the semi-easy steps to creating your own photo booth. After all, I hope you will share some photos with all of us!
First, to get you in the mood…here’s some inspiration!
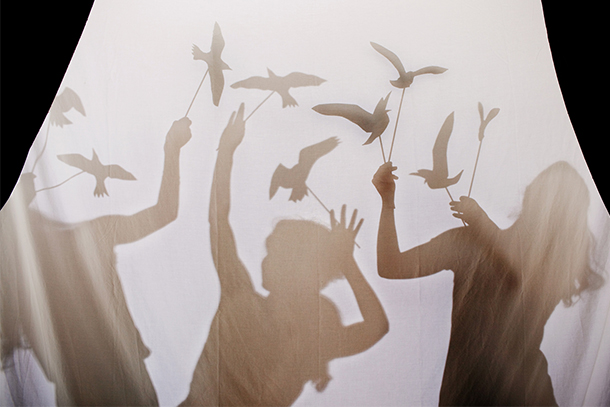
{Photo via Camille Styles }
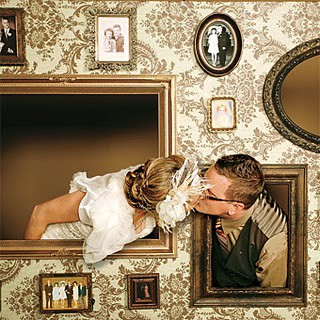
{Photo via Pinterest}
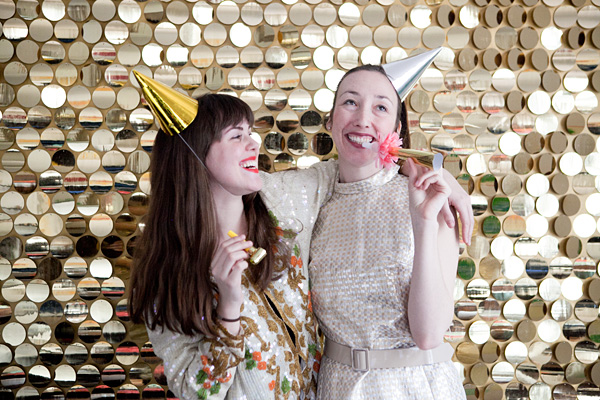
{Photo via Oh Happy Day }
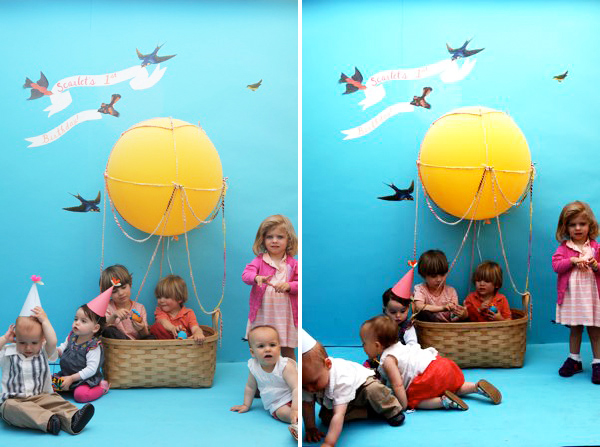
{Photo via Oh Happy Day }
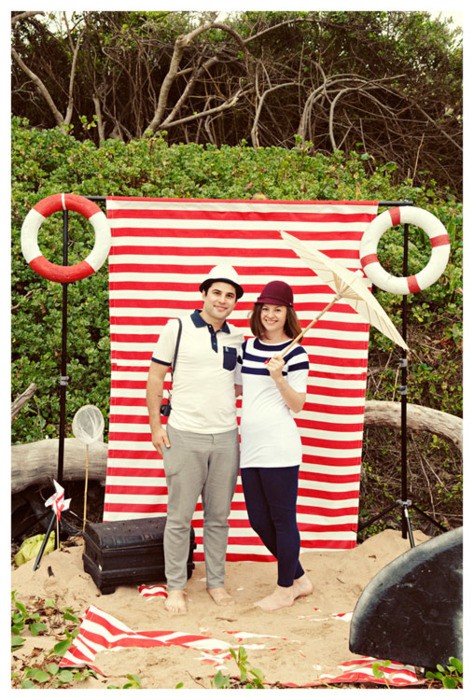 {Photo via Pinterest}
Backdrop: Get creative! I went on a fabric hunt and purchased an emerald green lamé fabric. I figured it went with the Edwardian theme of ferns and moss; however it looks a bit Wizard of Oz-ish to me. Nevertheless, a piece of fabric or white paper is perfect. Make sure that it is at least 6 ft tall and 5-8ft wide. This can be taped to the wall or placed on a stand. Otherwise feel free to use tacks, small nails or hooks to hang the fabric. Tight on a budget? Use a curtain you have around the house!
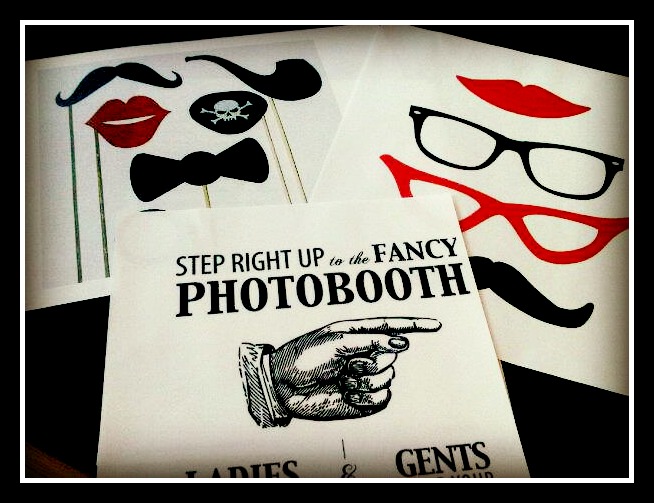
{ Templates and a sign that will guide guests to the photo booth (it’s very hard to find!) }
Props: Set up a table near the photo booth area with props and extra tchotchkes your guests could have fun with. I included gold ornate frames, dollar store finds and I created props old-fashioned props! There are plenty of templates out on the web to choose from. Pick some fun-colored paper that goes along with your theme. To create these you will need:
Exacto Knife
Gorilla Tape
Set of Dowels (Sticks)
Special Card Stock Paper
Step One: Take your templates and tape them to the back of your paper.
Step Two: Using an exacto knife, following the template, cut out the shapes.
Step Three: Using gorilla tape, tape down the dowel to the back of your prop.
Step Four: You’re now ready for your big camera moment!
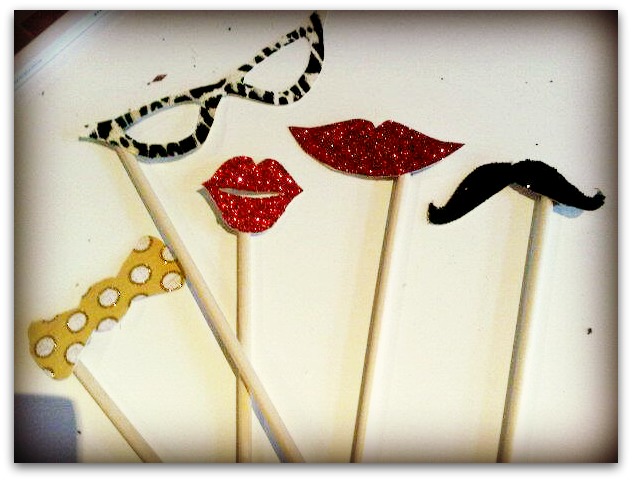
{ A small preview }
Have a photographer for the evening or take turns churning out photos! Add some extra lighting to get the best effect and most importantly, HAVE FUN! That is the point, after all.
I hope this inspires you to go out and buy some fabric, pin it to the wall and take some hilarious photos! Wishing you a spooky and fun-filled weekend…
See you all on Monday!
Xx
-Y
Create a small photo booth nook where you can s
